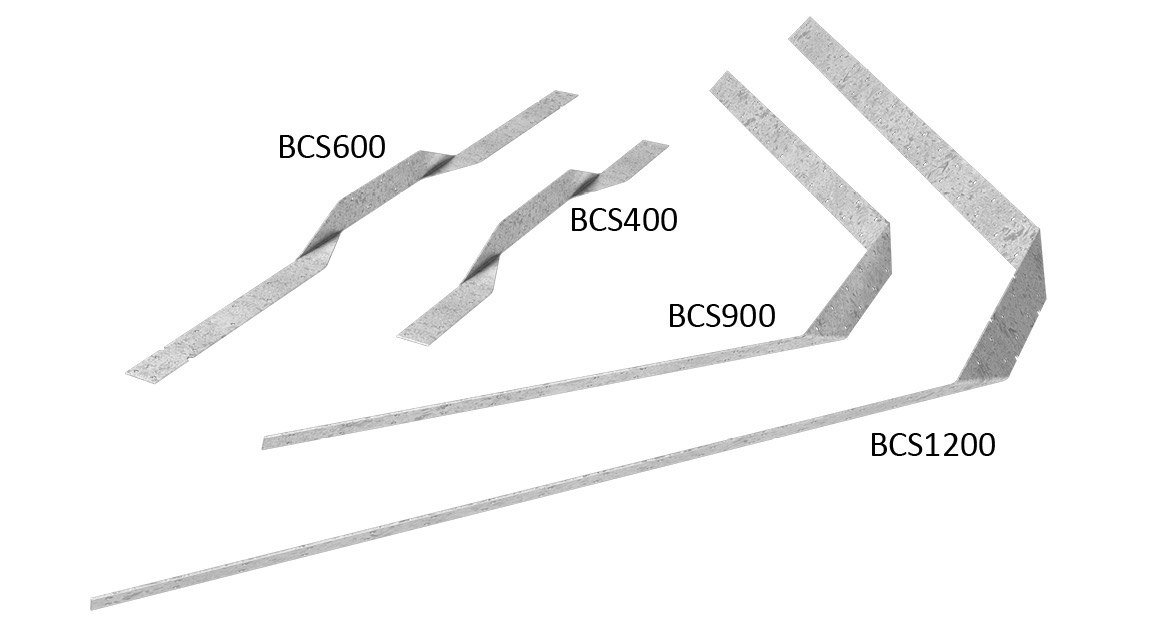
Cyclone Straps
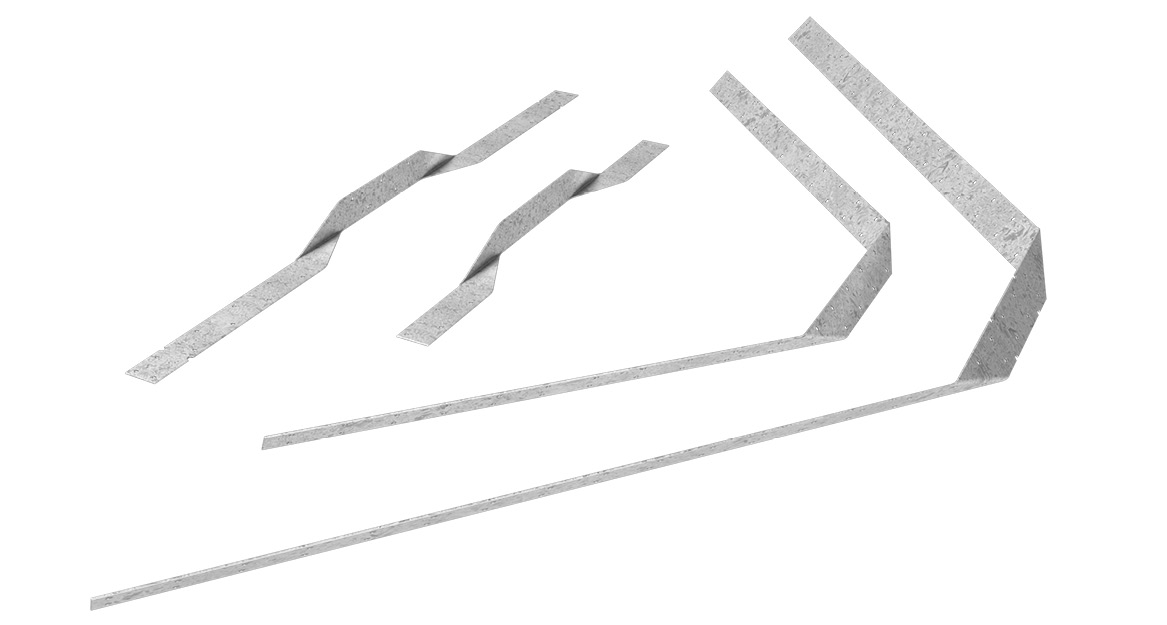
Australian made galvabond steel strap connectors for fixing purlins, rafters and trusses in high wind areas
Applications
To ensure that the Dunnings’ Cyclone Strap develops the maximum capacity to withstand wind uplift, the Cyclone Strap should be secured tightly and installed in the following manner:
Step 1.
Place the Cyclone Strap across the top of the member to be fastened and nail through the central locating hole.
Step 2.
Use a hammer to bend the Cyclone Strap over the edges and down the sides of the top member.
Step 3.
Using one nail (minimum) fix each leg of the Cyclone Strap to the face of the supporting member.
Step 4.
Use a hammer to fold the excess of each tie leg under the supporting member and secure each leg with 4/30mm x 2.8Ø Dunnings’ nails to the underside.
Alternatively apply nails to the face of the supporting member to achieve the capacity indicated in the table below, for 6 Dunnings’ nails per leg.
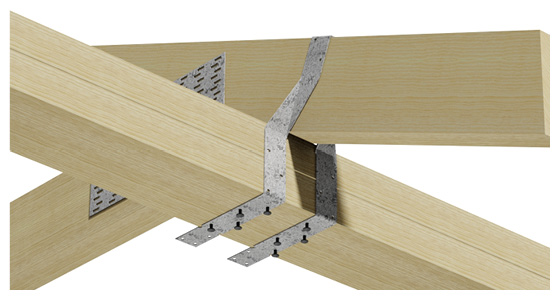
Cyclone Strap shown with each leg wrapped under the top plate and secured using 4/30mm x 2.8Ø Dunnings’ nails.
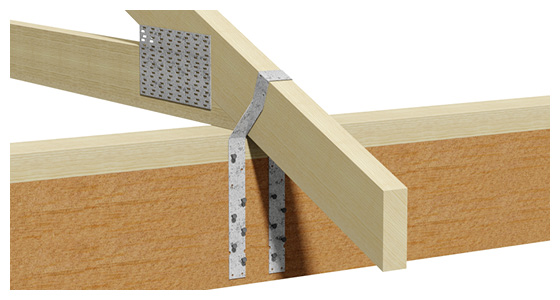
Cyclone Strap shown with each leg nailed down the face of the top plate and secured using 6/30mm x 2.8Ø Dunnings’ nails.
Product Specification |
Product Code |
|---|---|
| 400 x 1mm Galvanised | BCS400 |
| 600 x 1mm Galvanised | BCS600 |
| 900 x 1mm Galvanised | BCS900 |
| 1200 x 1mm Galvanised | BCS1200 |
Material Specification | |
|---|---|
| Thickness: | 1.0mm |
| Material: | G300-Z275 |
Nails | |
|---|---|
| BN 30mm x 2.8Ø Galvanised Timber Connector nails |
